'Fathoms Below' by exordium
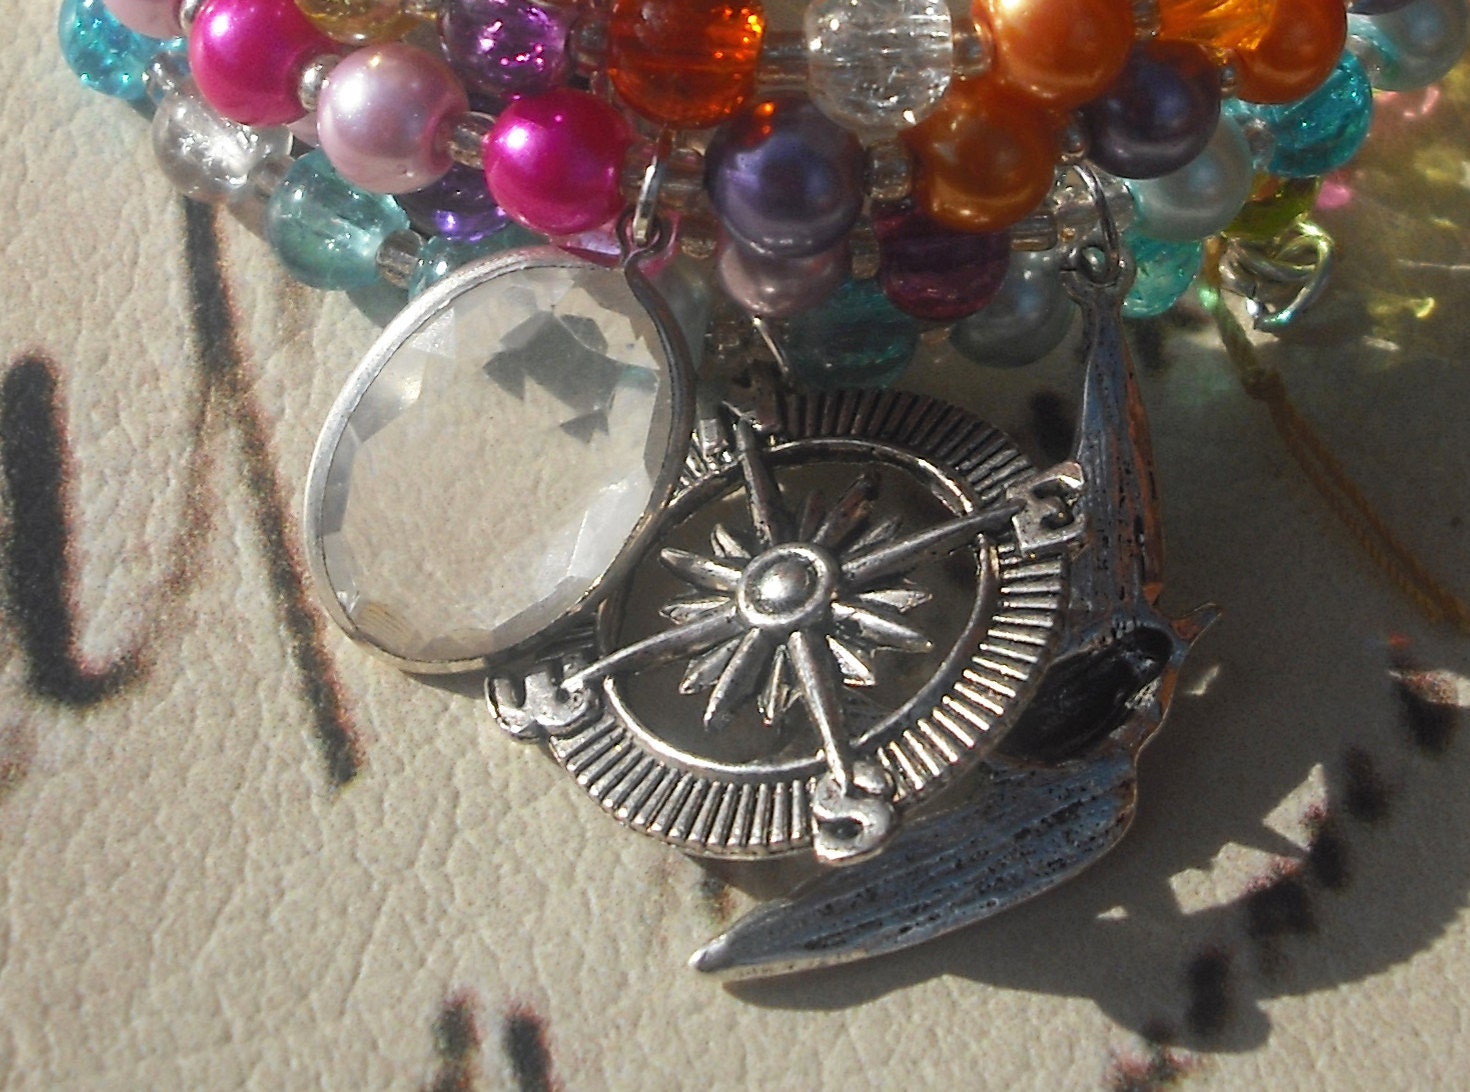
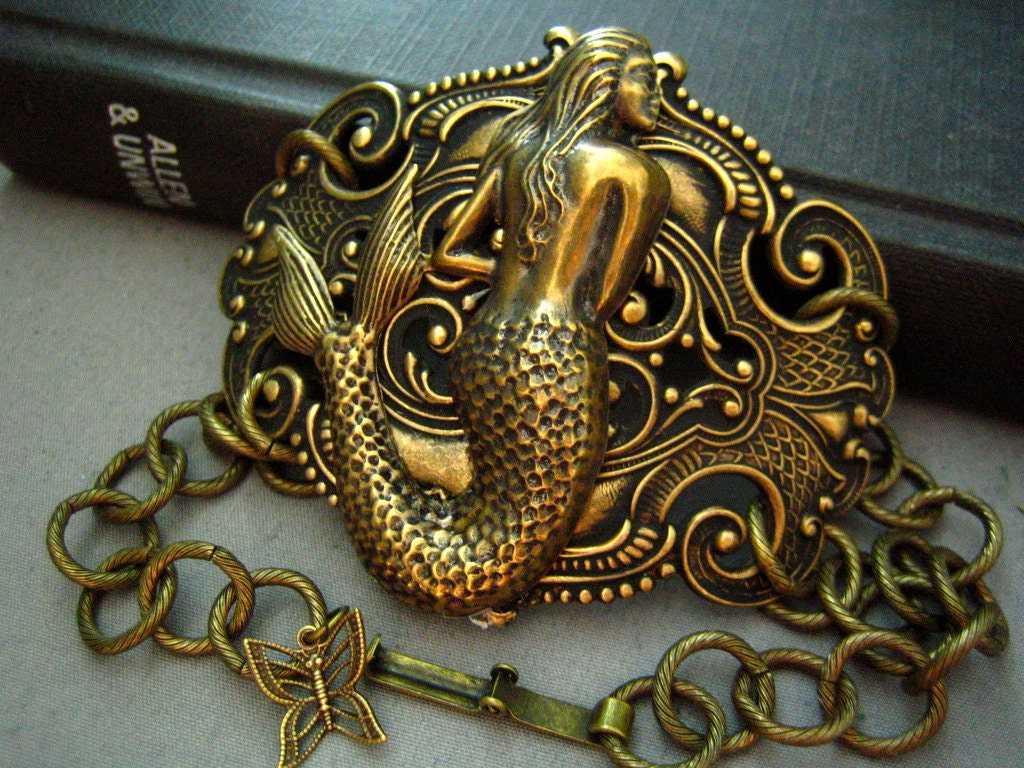
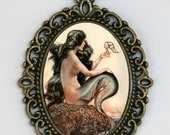
A myriad display of mermaidia, featuring jewelry, art work and costume/accessories.
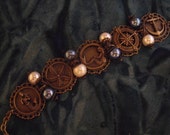
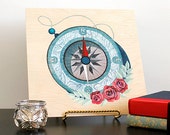
 Fantasy Art Rubber Stam... $10.99 | 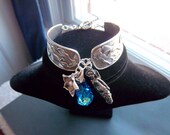 Mermaid spoon bracelet $100.00 | 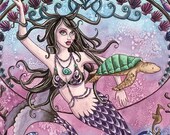 Turtle Mermaid Print - ... $8.00 |
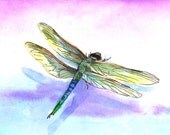
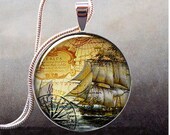
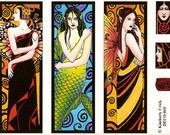
 Daughter of the sea No.... $56.00 | 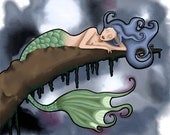 Nouveau Mermaid - 8x10 ... $10.00 |  Siren song - art nouvea... $48.00 |
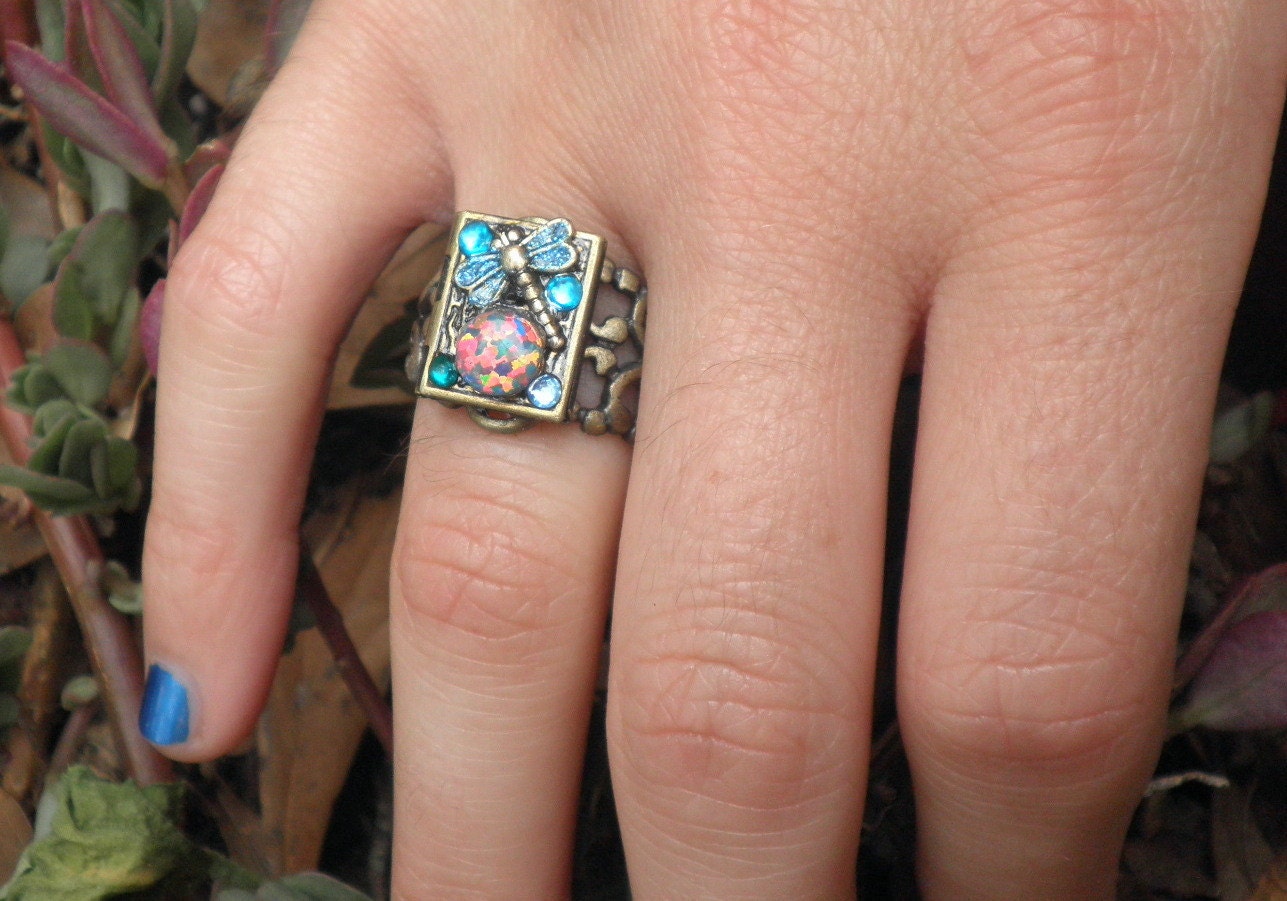
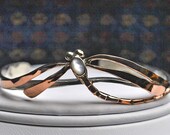
 Mermaid necklace parisi... $8.00 | 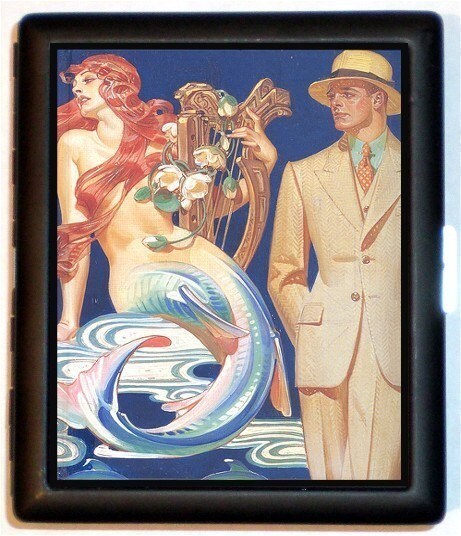 Turn of the Century Art... $9.99 | 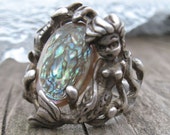 Art Nouveau Mermaid Rin... $200.00 |
 s157 Art Nouveau Mermai... $7.00 |  Silver Ox PLated Art No... $3.75 | 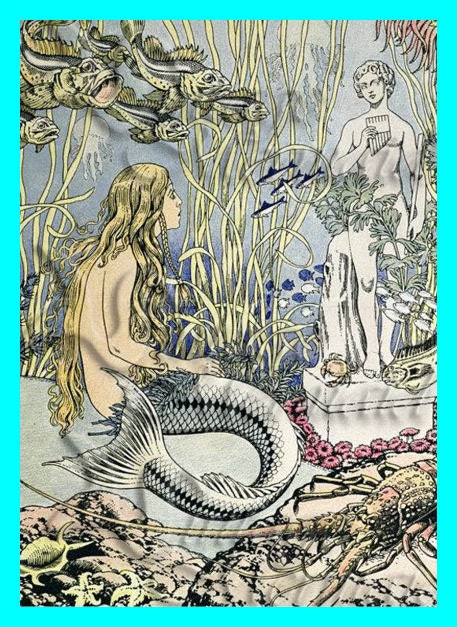 s222 Art Nouveau Mermai... $7.00 |
Treasury tool supported by the dog house